{Disclaimer ~ affiliate links used, full disclosure at bottom of site}
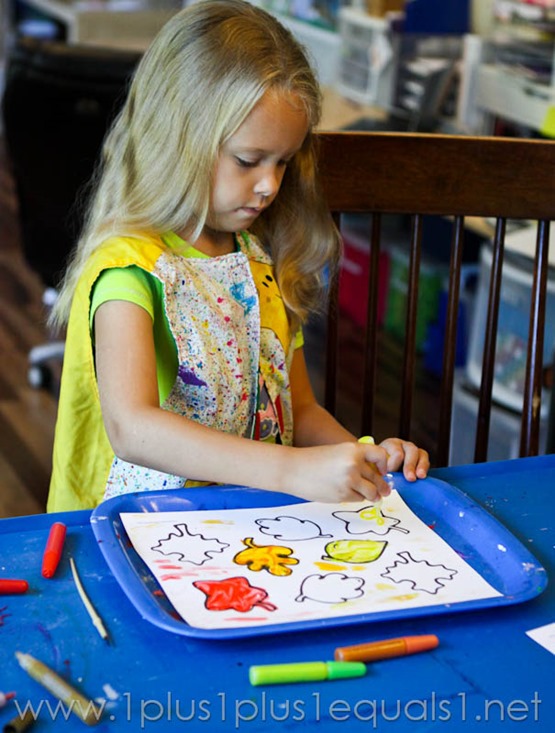
We recently enjoyed an intense crafty session creating fall leaves using many different methods! I would have only attempted one of these per day when my children were younger, maybe even 1 per season! Now that she is 6 and loves this {and is MUCH easier}, we tend to do more! Fall leaf art time was definitely FUN for us!
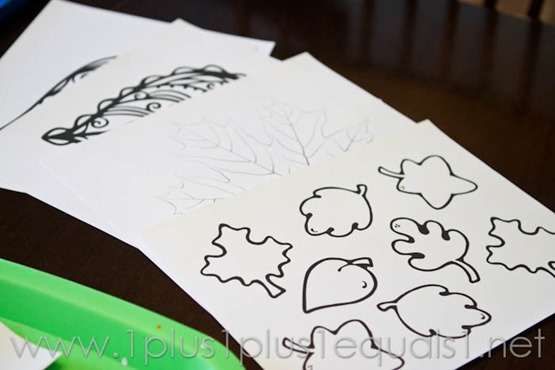
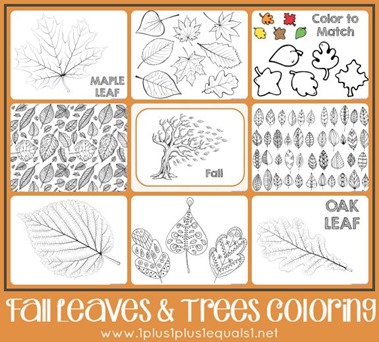
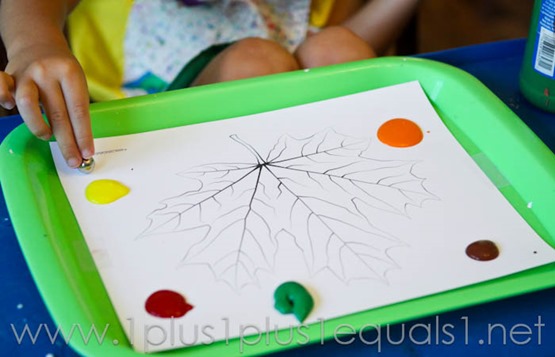
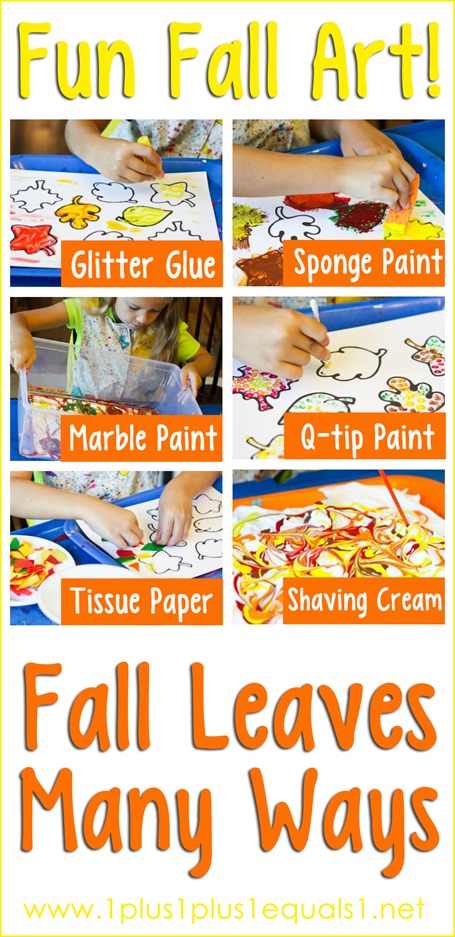
I gave her several options to create many different fall colored leaves and let her choose! We used her big blue MessMatz {we got on Zulily} and our colored plastic trays {from Oriental Trading}. I printed a variety of leaves from our Fall Leaves Coloring Pages, all on cardstock.
Grab your free fall leaf printables here!
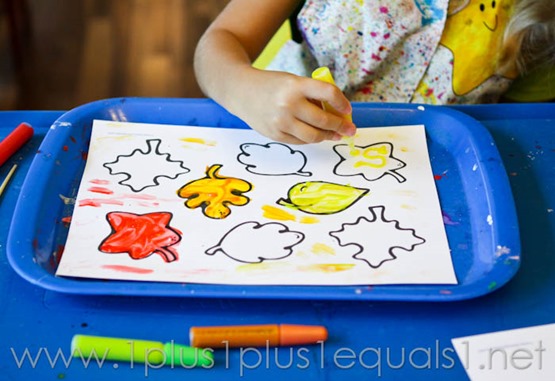
Her first choice was glitter glue. I got these at Target in the Dollar Spot last year, and pulled out the fall colors for her. My idea was for her to outline the leaves with the glitter glue, her idea was to use it more like paint and smear it around.
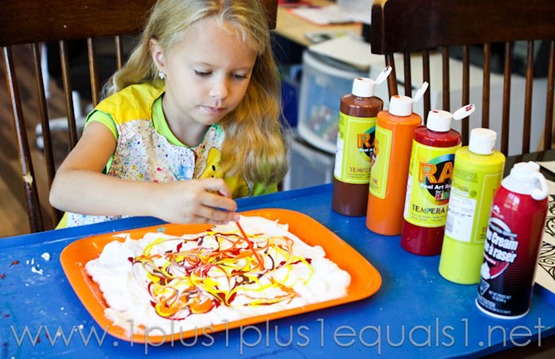
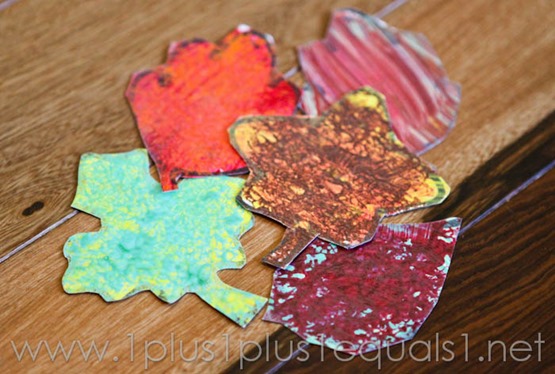
Her next choice was my very favorite ~ shaving cream paint!
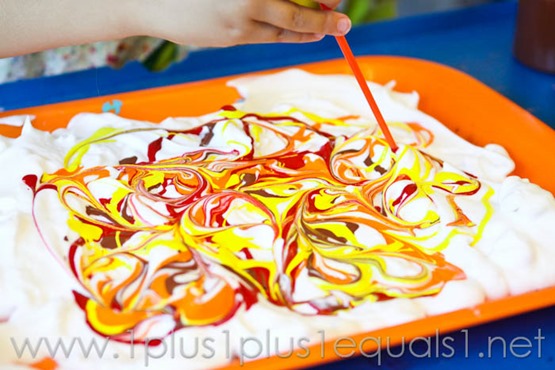
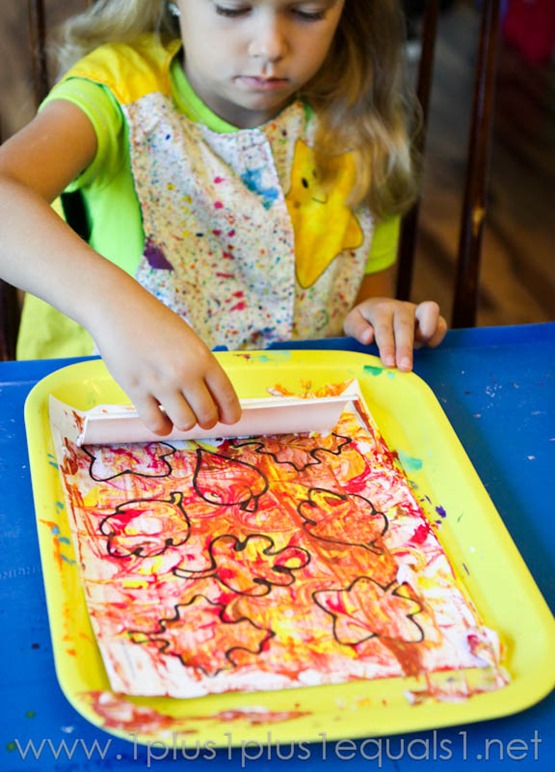
First, squirt some shaving cream on a tray, then drizzle paint on top as shown below. Use a stick to swirl paint around gently.
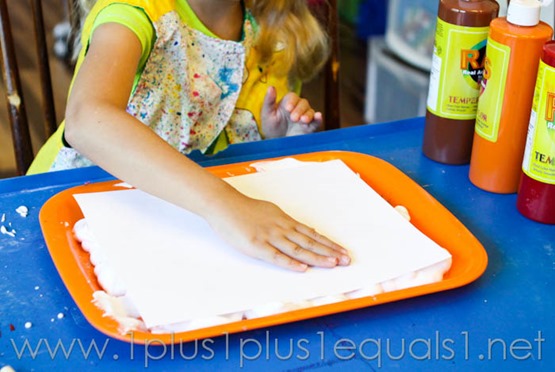
Lightly press your paper on top of the mixture and pat it.
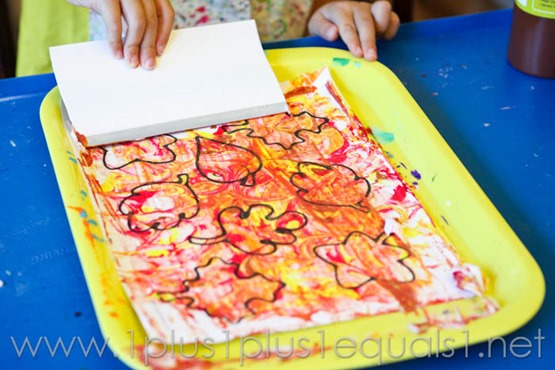
Let the paper sit for about a minute and then use a squeegee to pull the shaving cream off to show the beautiful paint underneath!
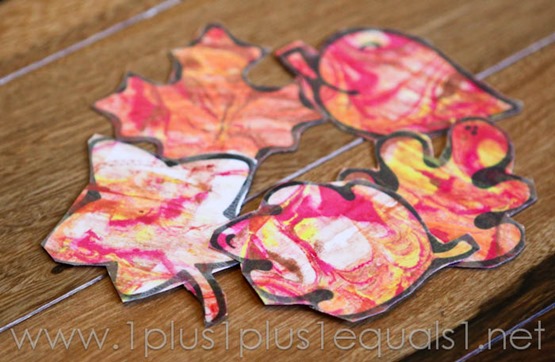
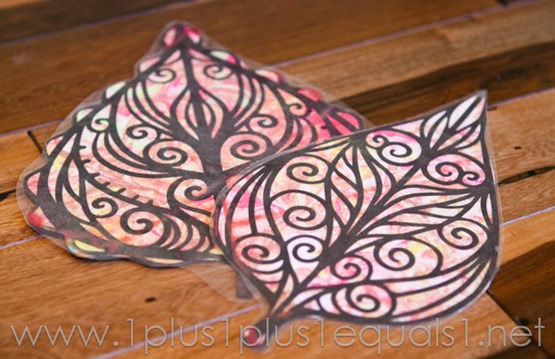
We also did this with some of the bigger leaves, also in the fall leaves coloring set.
See our video peek inside of this project and how we did it, as well as the others in this post!
We had loads of fun creating many different kinds of fall leaves, and then made calendar cards out of the small ones!! I would have never attempted this big of a crafty mess all at once when my kids were younger, but now it is totally doable! **BLOG POST with more photos & details ~ https://1plus1plus1equals1.net/2015/09/fall-leaves-many-ways-fun-fall-leaf-art/**See more VIDEOS on our YOUTUBE Channel ~ https://www.youtube.com/user/carisahh**SUBSCRIBE to our blog posts ~ http://mad.ly/signups/115694/join
Posted by 1+1+1=1 on Sunday, September 13, 2015
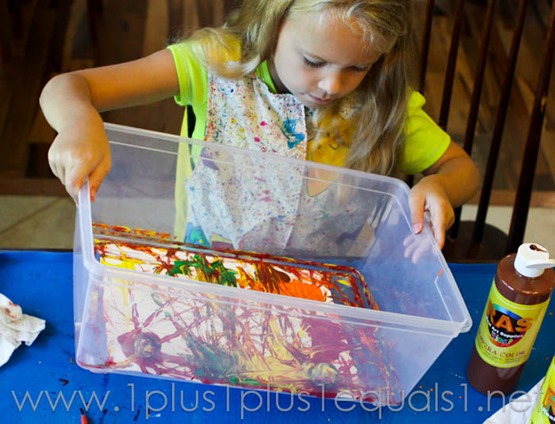
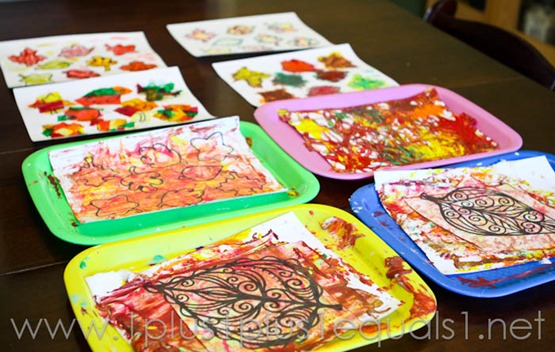
Next up was marble painting! First, I challenged her to try to do it on this tray, which she could totally do but didn’t want to focus so much!
In the past we have used a cardboard box, but this time we used a clear plastic box and washed it afterward. Be sure to tape the paper down before you do this.Then add drops of paint and put a marble in. It’s a fun game trying to get the marble into the paint and onto the paper!
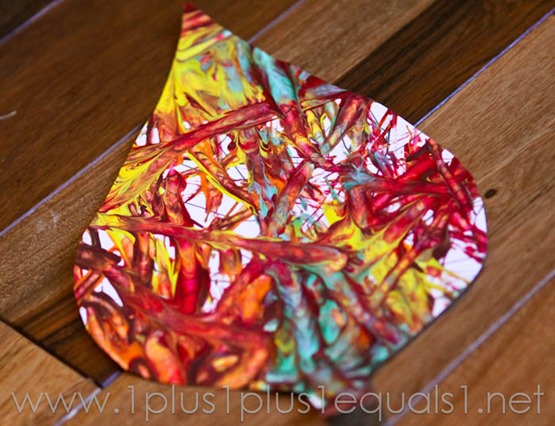
She got the leaf so paint-y, I couldn’t even see the lines so I just cut out a leaf shape!
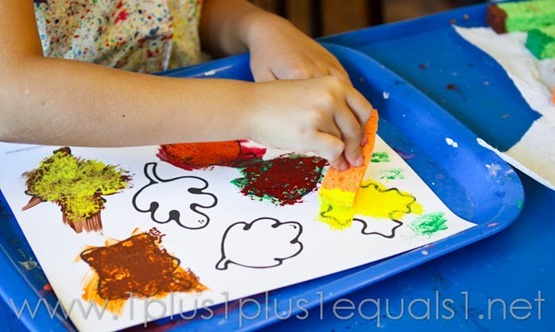
She loved sponge painting! We have small cut up sponges that we use for water play and painting.
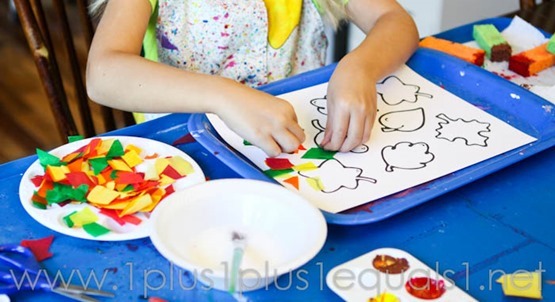
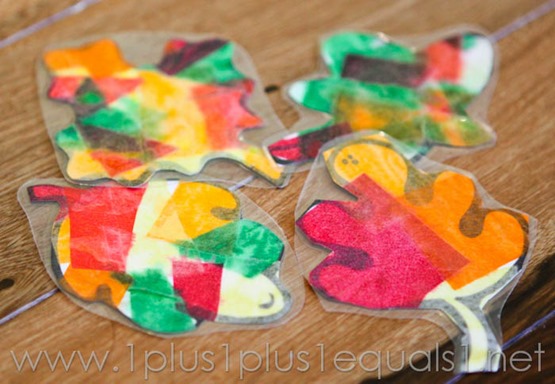
She hasn’t done tissue paper art like this in a very long time! The last time I remember doing it was here! Make a mixture of water and white glue {basically water down the glue a bit}. Use a paint brush to brush the glue onto the paper and then lay colored pieces of tissue paper on top. Paint over again to seal any loose edges.
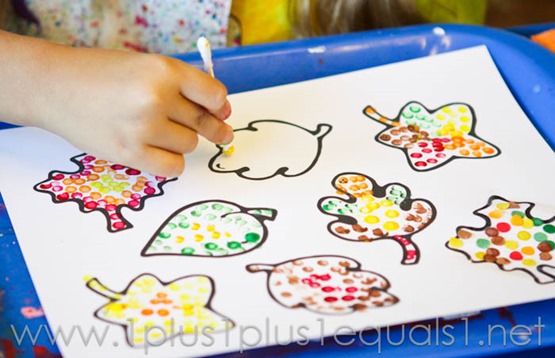
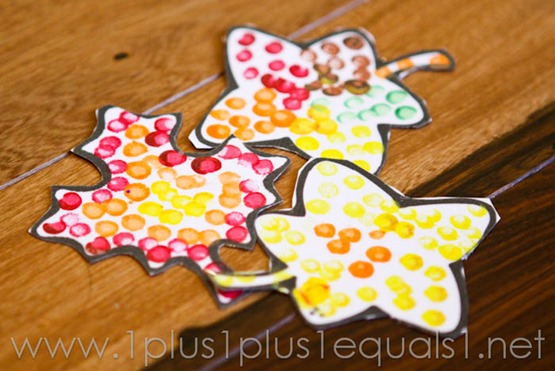
Finally, Q-Tip Art! She really enjoyed this a lot!
Here’s a video peek at how we made the shaving cream and tissue painted leaves!
We let all of her pieces dry overnight, some were really damp so they took awhile!
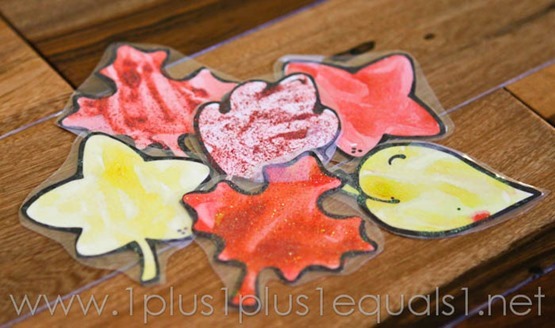
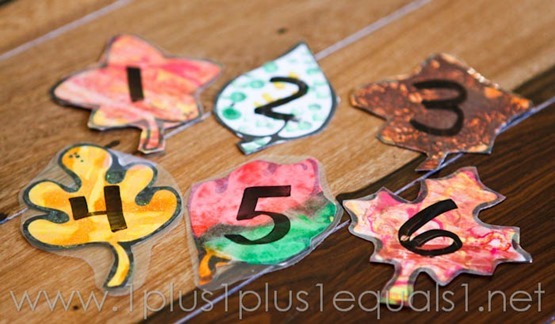
We laminated them since we decided to make calendar cards with them!
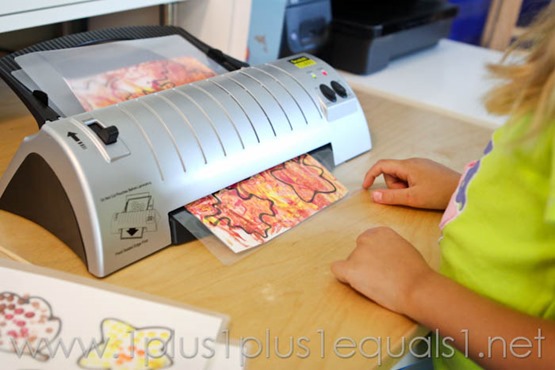
I used a dry erase marker to write on the leaves, so if she decides to use them for something else next year, we can!
See more Fall ideas here on our Pinterest board!
Follow {1plus1plus1} Carisa’s board Fall Theme on Pinterest.


