There are many creative art opportunities for you to explore with the Animal ABC letter crafts. The templates are blank and simple in nature for this reason, so you can use your own ideas based on what YOUR child enjoys. Here are some ideas for you to get your creative juices flowing!
Even if you don’t use Animal ABCs, you can still use the letter templates provided and make fun letter crafts with them!
Marble Painting
Put the whole letter page in a shallow cardboard box and drop a large or small marble in and squirt some paint in. Let your child choose colors as s/he names them. This activity not only produces a beautiful piece of artwork in the end, but also gives your child the chance to work through many skills. Balancing the marble and getting it to go where desired is a big challenge for most young kids!
{blog post featuring marble painted letter}
Cloud Painting
{or snow painting}
Mix white glue and white shaving cream together in about equal parts to make a fluffy cloud like paint. Add a few drops of tempera paint for color.
(blog post featuring cloud painted letter E, & cloud painted letter D}
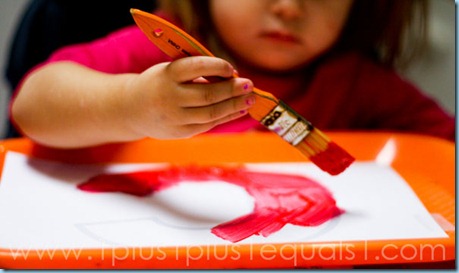
Tempera Paint
Simple, yes, but oh so fun for a tot. Be sure to allow color mixing at this stage, it’s so much fun for tots to explore freely with paint. My girl is usually a one color girl, by her own choice!
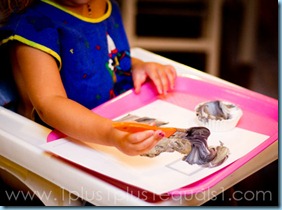
Your choice of brushes, or painting materials, can change up this whole activity. Here’s a few things to try…
{blog post featuring painted letter C}
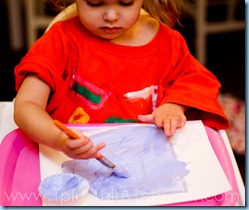
Water Color Paint
Also simple, but challenging for tots as they think through the way to get the paint on their brushes! None of my tots have enjoyed water colors, but I always expose them at an early age!
{blog post featuring water color painted letter A}
Markers
My tots love markers {washable of course}. Simply coloring the letter with markers can be a fun choice, and is one Ladybug chooses often!
{blog post featuring letter F}
Dot Paint
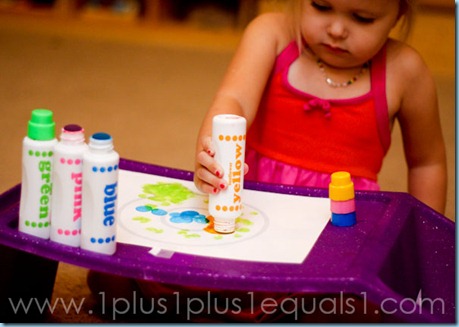
Dot paint is fun and most kids love it! Allow your child to dot paint the full sheet and then you can cut the letter out after it dries!
{blog post featuring dot painted letter Q}
Stickers
If you have letter stickers you can use those. If you have stickers of the featured animal…cool! Or just a fun variety of stickers to reinforce the letter shape while working on fine motor skills.
{blog post featuring stickers on letter L}
Finger Paint
You can see her stickers on the letter, which we did prior to the finger paint. I let her fingerpaint on the whole page first and then cut out the letter after it dries.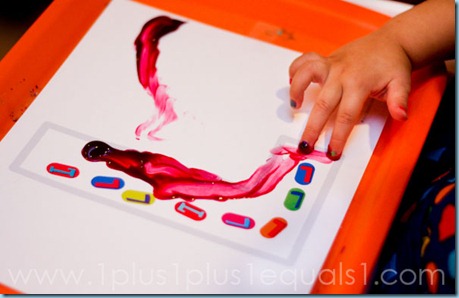
{blog post featuring finger painted letter L}
Sponge Painting
A bit of tempera paint and a small sponge just adds another element of creativity to painting. Again, I leave the page whole and let her paint away, then cut after it dries.
{blog post featuring sponge painted letter N}
Letter Stamps
We have the Melissa & Doug ABC Stamp set and this large ink pad.

{blog post featuring stamped letter M}
Glitter
You can have your tot paint the letter first, or just use glitter. I outlined the letter in white glue and then gave her shakable glitter to make the letter stand out. I hate glitter, but she loves it so I bust it out every so often!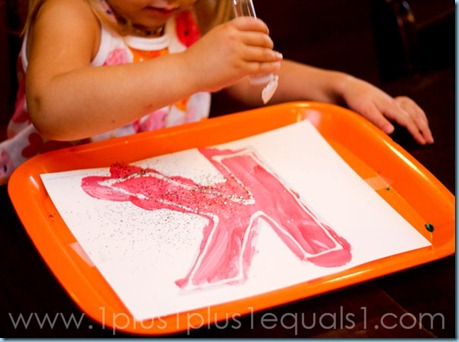
{blog post featuring glittered letter K}
Tissue Paper Collage
Use colored tissue paper {or construction paper if you don’;t have tissue} and help your tot tear it into small pieces. Provide a small cup with watered down glue {a few drops of water in with white glue} and a Qtip. Show your tot how to add glue to the paper and then stick tissue paper on top. They can also lay the tissue paper and apply the glue right over the top! 
After the tissue collection is dry, cut out the letter and apply the animals!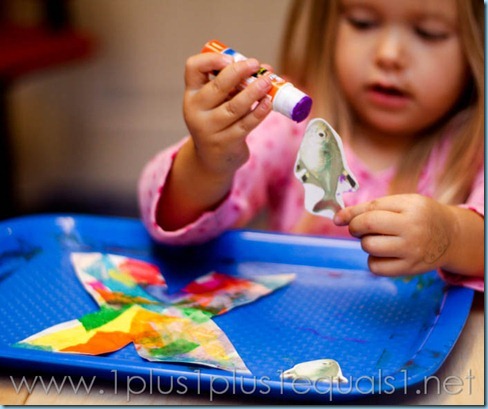
{blog post featuring tissue paper collage letter}
I made a simple pdf file of these ideas that you can print out and keep with your supplies, for those days when you are feeling less-than-creative! You can download the printable file here!


See more “Ideas for Using” posts ~


